
How To Replace A Tile On Your Floor
 Broken tiles are a part of owning a tile floor. It happens! Something drops on the porcelain, and it cracks. A tile may also get excessively stained, and it ends up being a blight on the whole floor. It doesn’t make sense to replace the entire floor for a single tile, so why not learn how to replace the one or two bad tiles and save yourself a ton of money. Our team at Greenwood Hardware knows how important it is to save money whenever possible and DIY projects at home are one way to do that.
You will need a grout saw to remove all of the old grout that surrounds the tile you want to replace. Go slowly so you don’t damage the flooring underneath or the other tiles. You want there to be a gap between the damaged tile and the other tiles.
Use a chisel and a hammer to slowly break the tile. You will want to hit the center of the tile. The gaps between the others will keep the vibration from dislodging or cracking the other tiles. Tap until you can pull the tile away from the floor. Make sure you wear work gloves as the tile edges will be very sharp!
Once you have removed all of the pieces of tile, use a putty knife to scrape off the old adhesive. Use a shop vac if you have it to get rid of as much dust in the area as possible. You could also use a damp sponge.
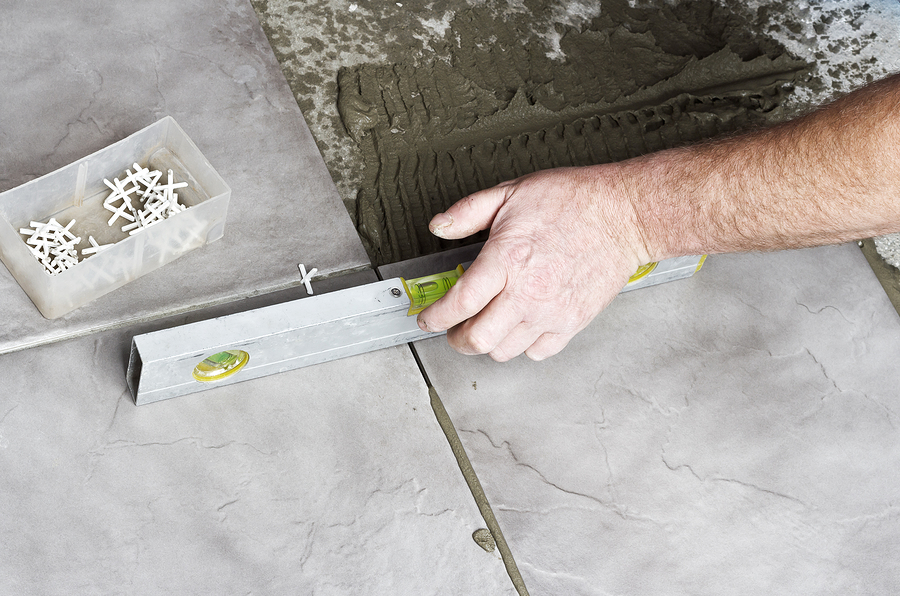
Grab your new tile and make sure it will fit in the hole. If it does, spread a layer of adhesive onto the back of the tile. Press the tile into place. If needed, place a book or something heavy over the tile to hold it down. Allow the adhesive to dry overnight. Add fresh grout around the tile. Make sure it matches the existing grout. Wipe clean after 15 minutes.
That is all it takes to make a floor look new again by replacing a tile. You will find the tools you need to remove the old tile and lay the new tile at Greenwood Hardware. Come on in, or contact us today!