How to Grout a Tile Floor
 If you are handy (or even if you are not), you can lay your own tile floor. This is a fun, weekend project you can do! It doesn’t take a lot of skill, but you will want to watch some video tutorials before you tackle the big job. A new tile floor looks amazing, and you will be very proud of your work. If you don’t want to put in a new tile floor, but just want to give your old tile floor a facelift, you can do it by replacing the grout. Grout tends to break down after a while, leaving gaps between the tiles. At Greenwood Hardware you will find the tools you need to grout your tile floor.
Grouting the floor isn’t all that difficult, but it can be time-consuming. You will need a few tools before you get started.
- Grout—pick a color that complements your tile. You can get premixed grout in a tub, which is great for small areas or buy a bag and mix yourself. Sanded grout is the best option for any spaces bigger than 1/8 of an inch
- A grout saw will help remove any old grout if you are redoing the floor, you won’t need this if it is a new tile floor
- Grout float
- Grout sponge
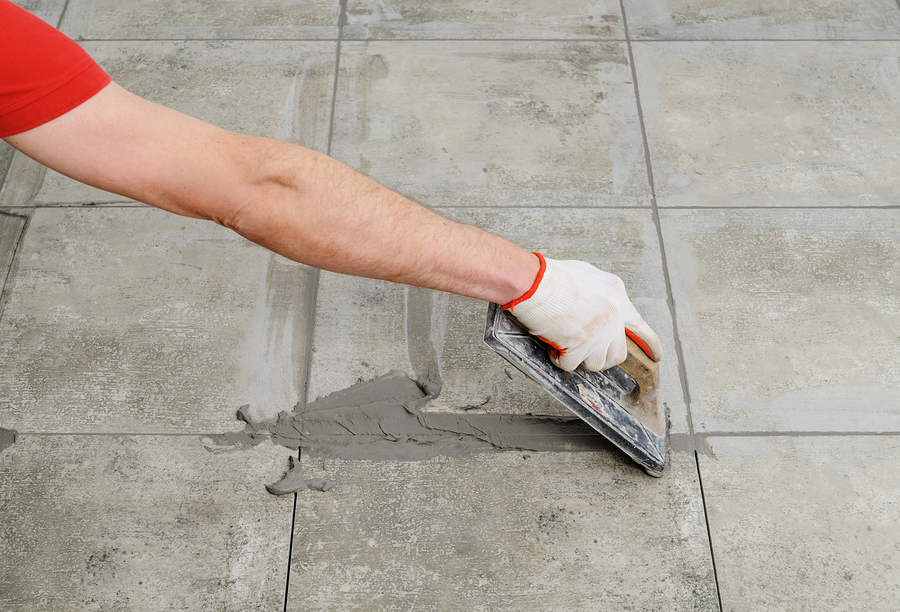
Make sure the tile is set before you begin grouting. If the grout is premixed, you are ready to get started. Dip the grout float into the grout, scooping up a blob of grout. Run the float across the tile, pressing down at a diagonal angle. You are pushing the grout into the crevices. Holding the float at the same angle, run it over the area, cleaning up the grout and pushing it further into the crevice.
Wait for 15 to 30 minutes after you have laid the grout, get a grout sponge and go over the excess that is on the tile. The sponge will wipe away the grout. Wipe away as much as you can and let the grout sit overnight. You will probably notice a bit of a haze over your tile. Use a dry cloth or cheesecloth and rub the tiles to remove the haze. Using a wet sponge will just create a mess.
You will find just what you need to grout your tile floor at Greenwood Hardware. Come on in, or contact us today!
